Thursday, January 4, 2018
How to setup Network Attached Storage NAS FreeNAS 9 10
How to setup Network Attached Storage NAS FreeNAS 9 10

Hardware Recommendations
Since FreeNAS� 9.10 is based on FreeBSD 10.3, it supports the same hardware found in the FreeBSD Hardware Compatibility List. Supported processors are listed in section 2.1 amd64. FreeNAS� is only available for 64-bit (also known as amd64) processors.
FreeNAS� boots from a GPT partition. This means that the system BIOS must be able to boot using either the legacy BIOS firmware interface or EFI.
Actual hardware requirements vary depending on the usage of the FreeNAS� system.
RAM
The best way to get the most out of a FreeNAS system is to install as much RAM as possible. The minimum recommendation is 8 GB of RAM. The more RAM, the better the performance.
- To use ZFS deduplication, at least 5 GB of RAM per TB of storage to be deduplicated.
- To use Active Directory with many users, add an additional 2 GB of RAM for winbind�s internal cache.
FreeNAS installation
The FreeNAS operating system is installed to at least one device that is separate from the storage disks. The device can be a USB stick, compact flash, or SSD. Technically, it can also be installed onto a hard drive, but this is discouraged as that drive will then become unavailable for data storage.
Use 16GB USB flash Drive to install NAS OS on it
=> DOWNLOAD NAS 9.10.1
=> DOWNLOAD RUFUS
Download rufus to burn on usb disk then install on 16gb FlashDrive
Lets Start
Setup your computer to the same network of your other
computer By router or Switch
Download NAS operating system it will be .iso file
then plug in your pen drive. And open Win 32 Disk Imager
in right corner click on blue folder icon and select the iso.
after that click on "write" then the writing process begin on
pendrive.
After finishing writing process. Plug out the Pendrive
And plug in to your Old computer. And turn on
And press Key for access in boot menu
usually key for different types of pc is mention - Esc - F9 - F10 - F11 - F12.
After Accessing select the pendrive and press enter
then system boots the pendrive and shows the Nas version and detail then again press enter.
The loading Process Begin .After loading a screen appear Select " Install / Upgrade "
Then its show the available drives . Then select one drives by pressing space bar where you want to install Nas os. And then select "ok". Then it will ask you to give root password.
Now the installation process begin. Please wait Until its finish.
After finishing up then it will show the IP address.
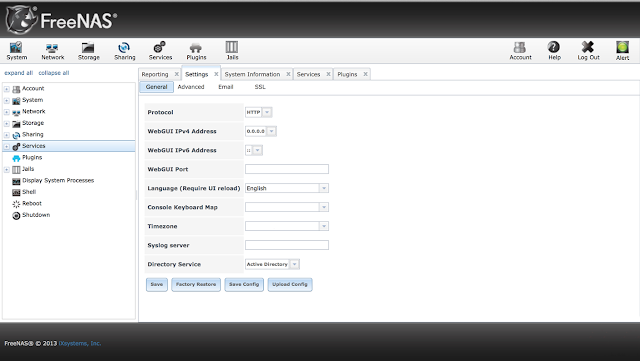
Then Open browser of Another computer Type the IP address.
hit enter . log in with User name - root
Password - which you enter in root
And manage the NAS storage. Now you have Home Network Attached Storage.