Wednesday, January 3, 2018
How To Root HTC Desire 816
How To Root HTC Desire 816
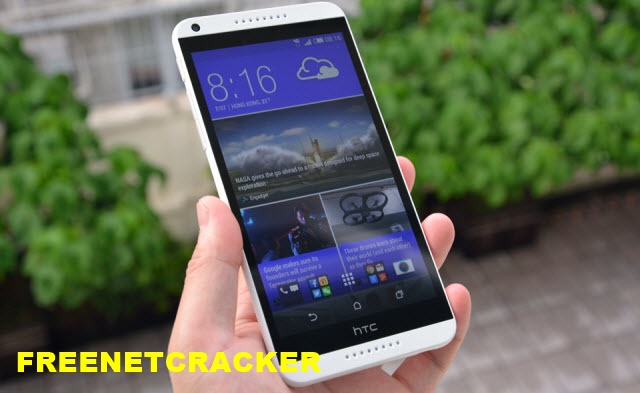
HTC Desire is the latest Android Smartphone, which comes with 5.5 inches Super HD720 Capacitive Touchscreen. It is powered by Android 4.4 Kitkat Firmware and runs on 1.6 GHZ Dual-core processor. It also has a 13 Mega Pixel Primary Camera with LED Flash and Autofocus Features as well as a 5 Mega Pixel Secondary Camera.
If you are a user of HTC Desire 816 Smartphone and want to root your device so that you can install rooted apps or Custom ROM Firmware, then you are in the right page. In this page, you can find the procedure to root your HTC Smartphone.
WARNING: Rooting your device will void the warranty of it. Also, Rooting will result in bricking of your Smartphone and if that happens, don�t held us responsible. So, please follow this procedure at your own risk
Prerequisites To Root HTC Desire 816 Smartphone:
- Before starting to root your device, it is important to take a backup of all your personal data�s with help of backup applications.
- Ensure that your phone has a good battery backup level, so that you can perform rooting process without any power issues. The battery percentage level of your device should be at-least 75% to carry out the rooting process.
- Next, Enable USB Debugging on your Smartphone. To enable USB debugging, click on Settings and then click on Developer options and mark the USB Debugging Mode box.
- Then, your device bootloader must be unlocked. If it not then you need to unlock it by visiting here.
Tutorial To Root HTC Desire 816 Android Device:
- To begin the rooting process, you have to download and save CWM Recovery on your PC. Then you need to download �SuperSU� file on your computer.
- Next, you have to connect your Smartphone with the computer by using original USB Cable, and then you need to transfer the SuperSU file to your device�s external storage.
- When it�s transferred, you have to disconnect your Smartphone from the Computer.
- Then, you have to turn-off your Android device and boot it into FastBoot mode. To enable this mode, hold Power button and Volume button at the same time until it will become active.
- Now, again connect your device to the Computer and then install CWM Recovery file. To do that, click on CWM Recovery exe file and follow the on-screen instructions. It will be installed within few seconds.
- Once installed, switch off your device and then boot into Clockwork Mod (CWM) Recovery by pressing Volume down button and Power buttons simultaneously, and selecting CWM recovery.
- Now, you have to install the �SuperSU� file that you copied earlier to the SD card. To do this, select the option �Install zip from SD card� and select the SuperSU file. Once it is flashed, your Smartphone will automatically reboot.
- That�s it. Now your Smartphone has been successfully rooted. You can verify the success of rooting procedure by installing �Root Checker� app on your device.